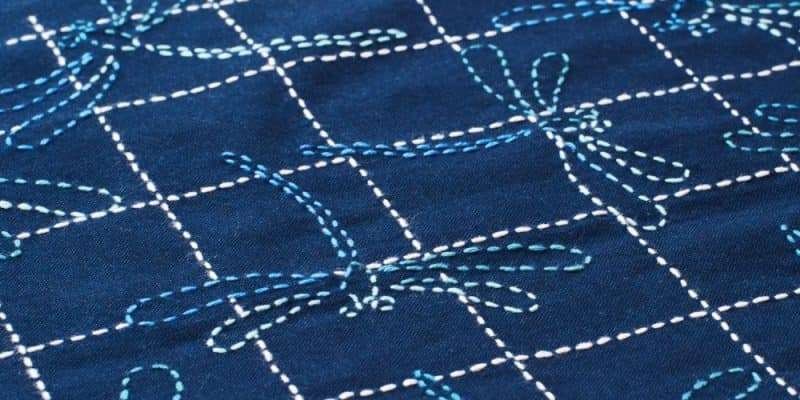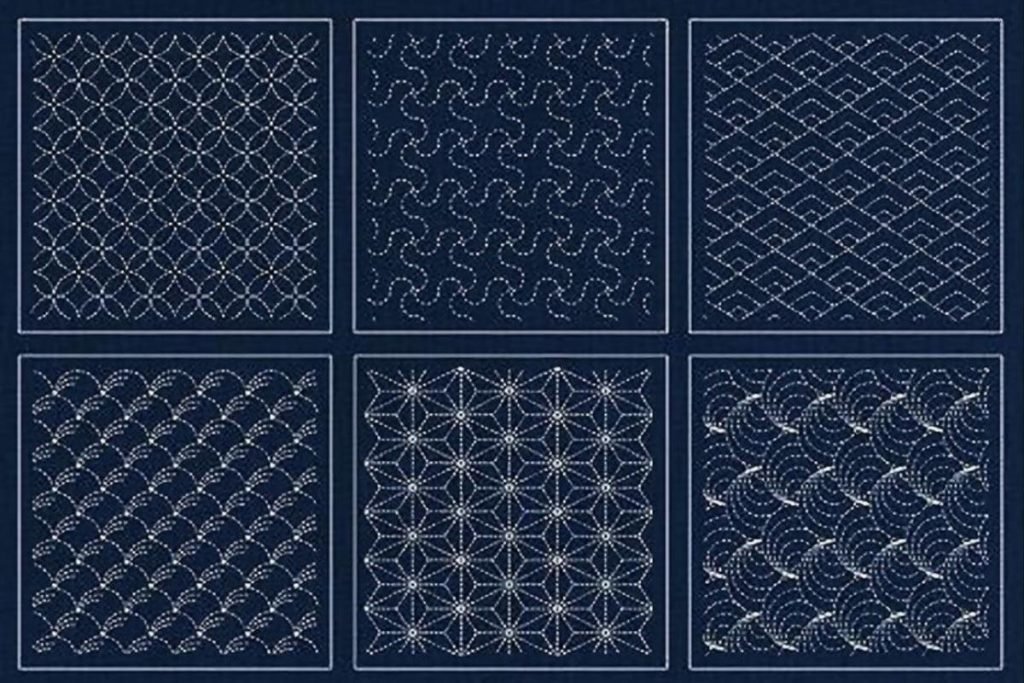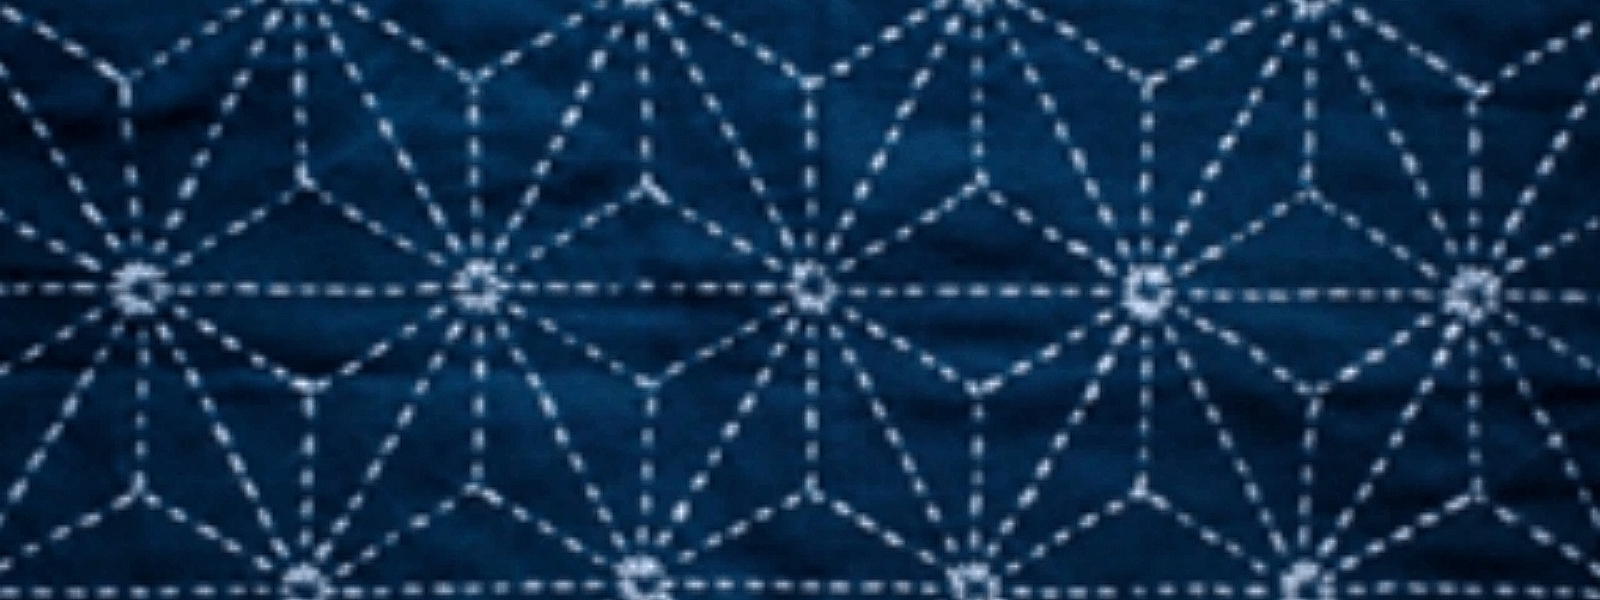
Sashiko pattern – Hemp Leaf (Asa-no-ha)
A popular pattern in common use
Among the traditional patterns which have been most popular among Japanese over the years, one stands out: Asa-no-ha, or the hemp leaf pattern.
Even the common man with no interest in fabric design or patterns is sure to recognize this shape, although he may not know its name or history. If asked where he had seen it, he would probably find it difficult to respond clearly, conjecturing that “perhaps it was the pattern on the wooden box I has when I was small.” This pattern has become so much a part of everyday life as usually to go unnoticed by Japanese.
There are two popular theories about the origin of this pattern. One school of thought insists that the Asa-no-ha is purely Japanese; the other claims that it was introduced to Japan from India via China. While neither theory can be confirmed, it’s clear that the Asa-no-ha pattern began to figure in Japanese art during the Heian period (794-1192 AD). It was then found on fabric used to clothe images of Buddha and in Buddhist paintings; later it was incorporated into building décor.
To some Japanese craftsmen, the Asa-no-ha’s repeating pattern of spokes radiating from a central white hub presents an impression of light and the radiating power of Buddha. Whether used alone or repeated, however, this is a very useful pattern for those involved in design, as it can be used in varying sizes and with spaces of nearly any size.
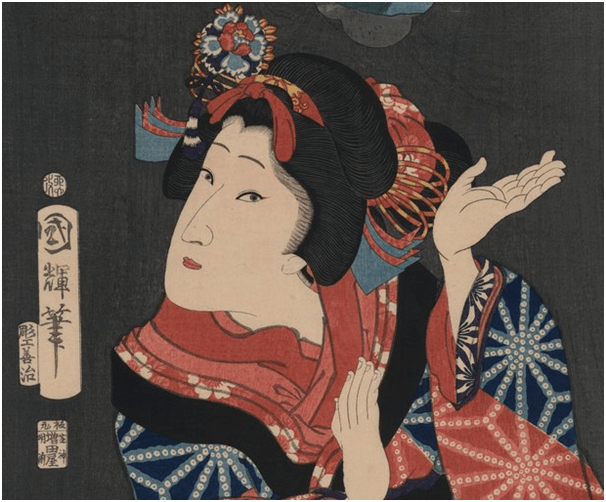
Although the Asa-no-ha pattern was originally associated with religious applications, it gained wide acceptance among common people in the Edo period, when the influence of popular – rather than aristocratic – culture reached its zenith.
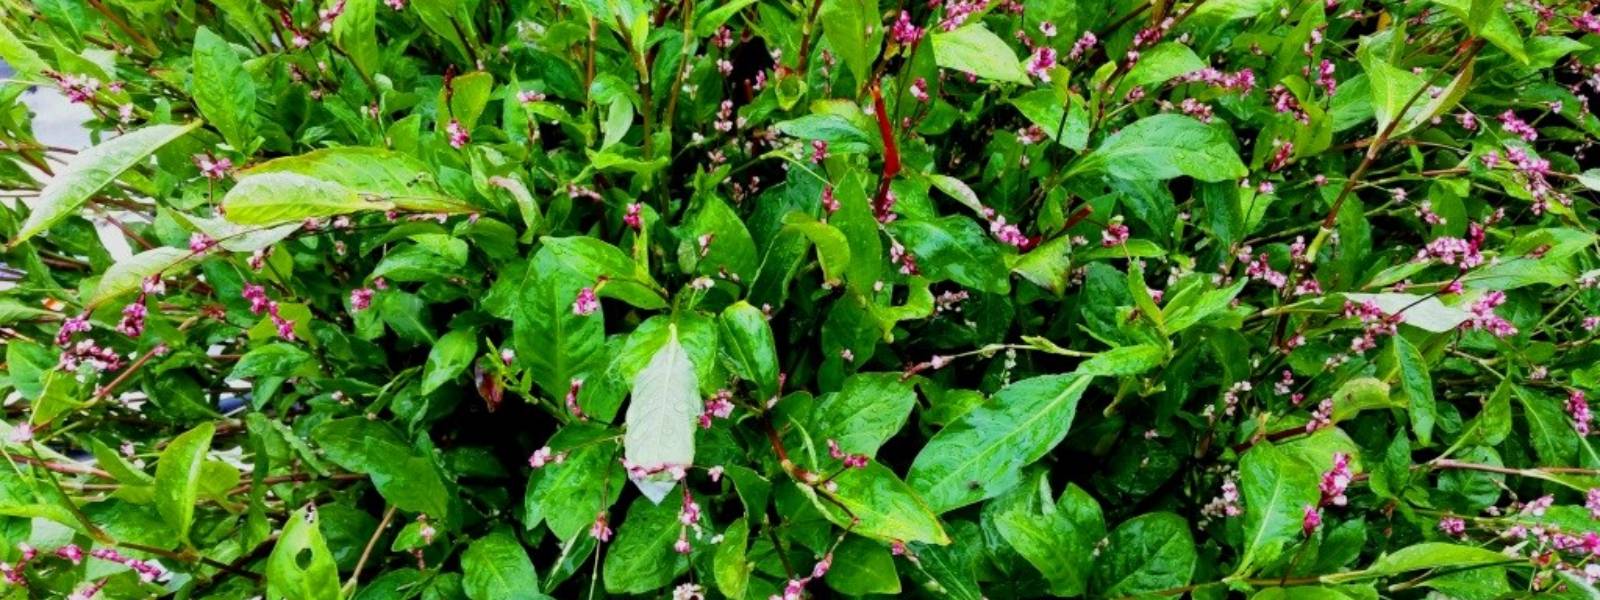
Hemp has been cultivated since ancient times. Before the Muromachi period when cotton was first imported as its later popularization in the Edo period, hemp was the most common raw materials for making clothes. The Asa-no-ha gained its name for its resemblance to the leaf of the hemp plant.
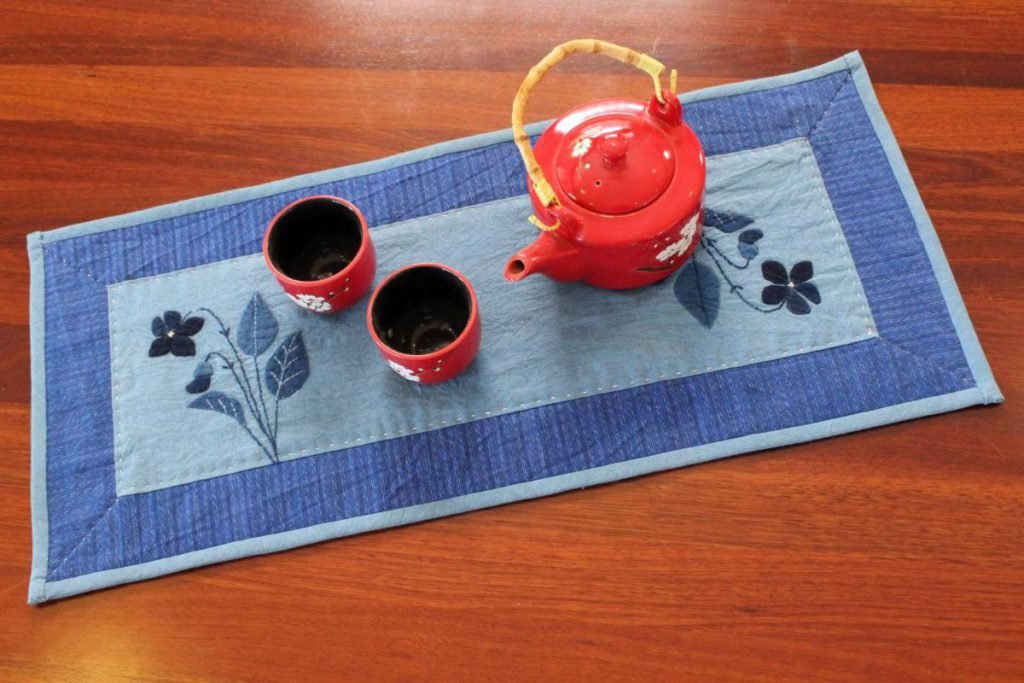
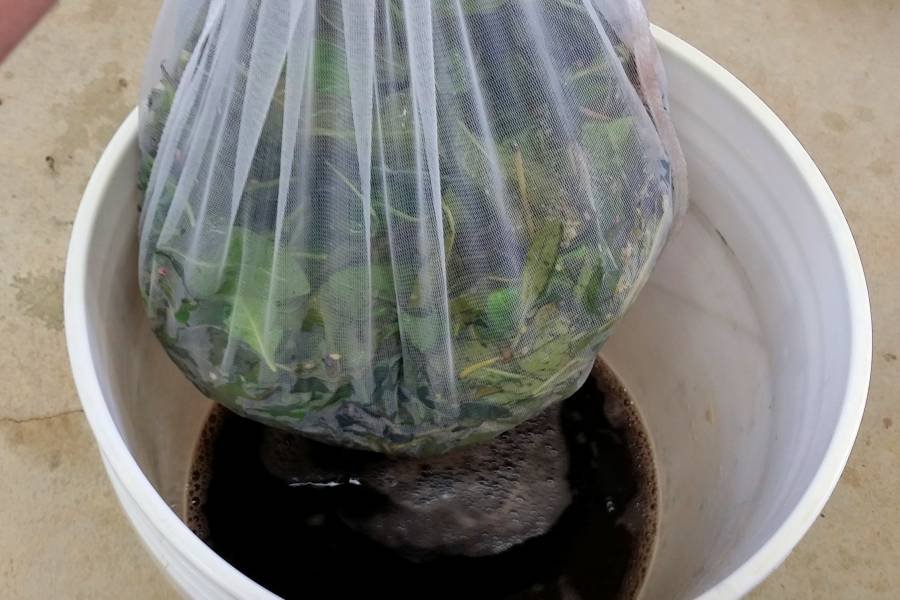
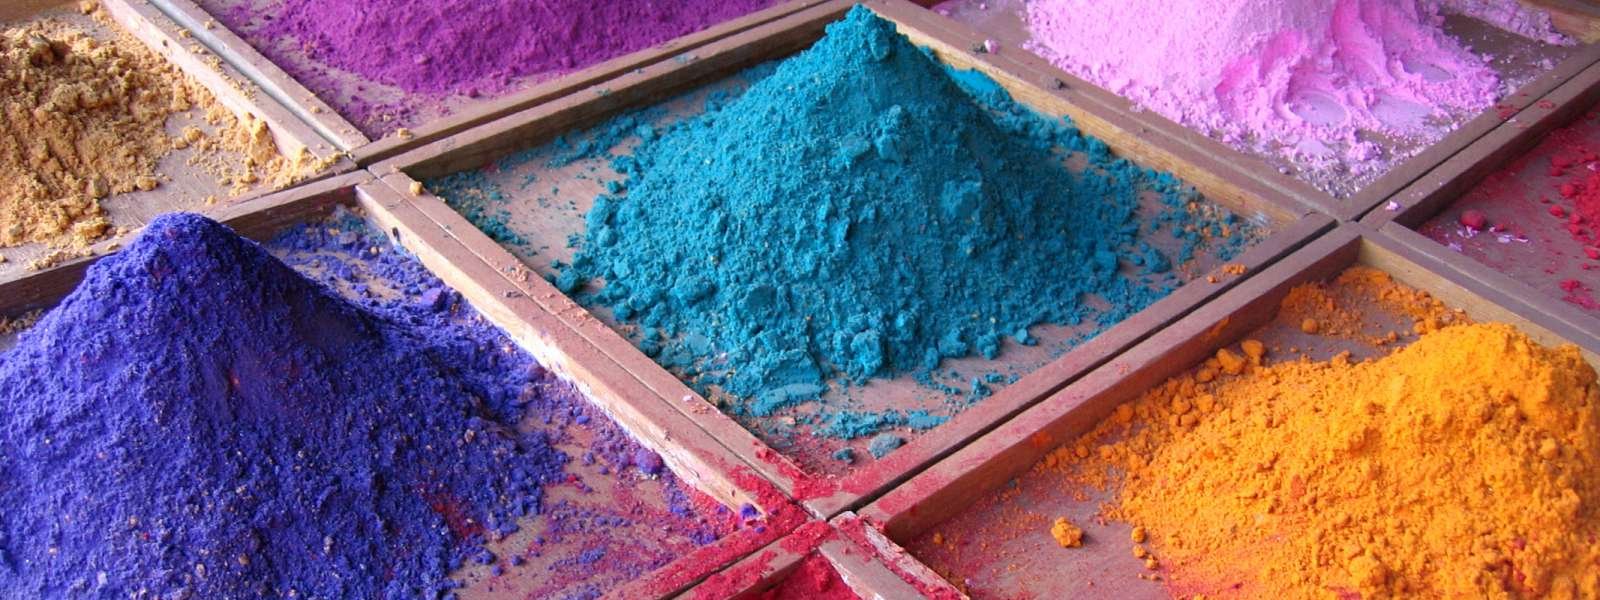
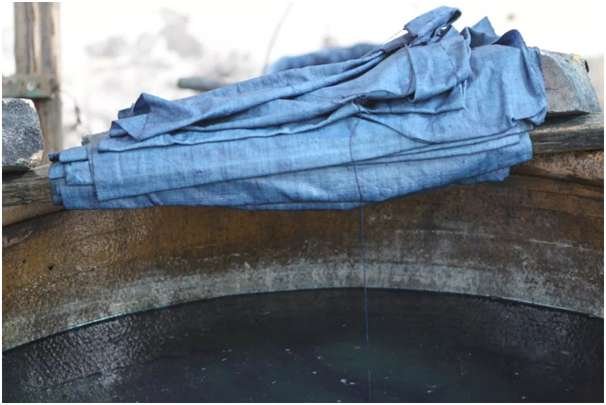
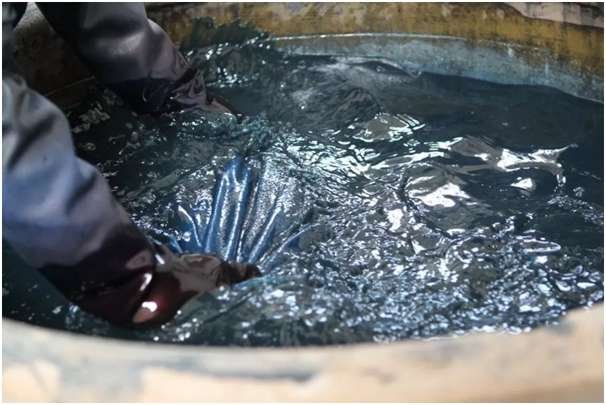
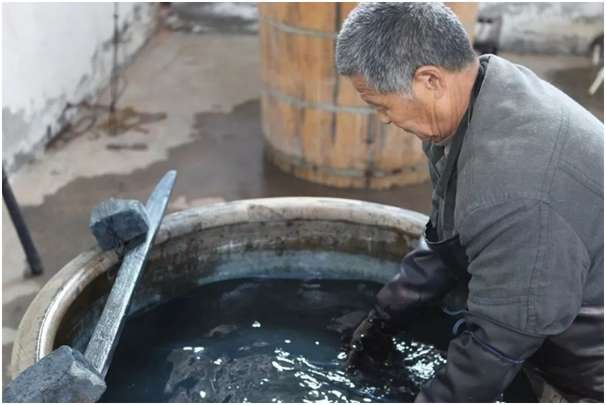
As hemp is a strong, fast-growing plant, the Asa-no-ha pattern was traditionally favored for babies’ diapers and bedclothes to reflect the hope that one’s baby would grow as strong as hemp. The Asa-no-ha pattern was also a favorite for “Sashiko” work, since the pattern looked most attractive when displayed on cotton dyed in indigo and sewn in layers.
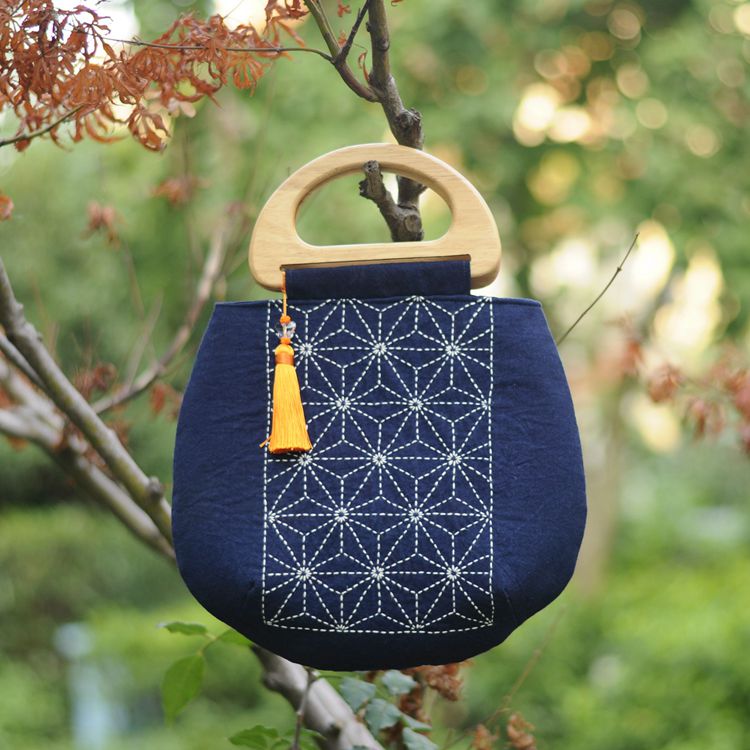
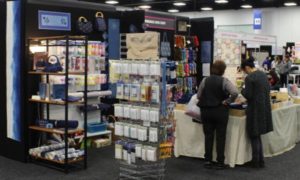
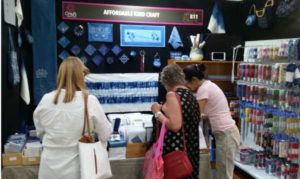
This Sashiko hand bag has hemp leaf pattern centered to both front and back of bag. Simple yet effective. https://affordable-kind-craft.com.au/product/hemp-leaf-handbag

This Good Luck Sashiko handbag has floral pattern formed by those “negative space” that is not stitched by a variation on hemp leaf pattern. A picture can only be recognized after many hemp leaf patterns are done. https://affordable-kind-craft.com.au/product/good-luck-handbag/
Have you had any projects made with hemp leaf pattern or any works you’ve seen in this pattern? Would love to see if you have any 🙂
This article is extracted from Sashiko Blue and White Quilt Art of Japan by Kazuko Mende and Reiko Morishige.